This is a quick and short (read: superficial) overview of how to get started with the RainLabs Blog component for OctoberCMS. It only covers how to create a CMS page to host your blog post, and how to link it to your blog posts.
Of course everything here you do in your OctoberCMS "backend":
1) Install the plugin
2) Create a Layout
You only need to create a layout if you don't already have one. You probably do, so you can skip this step.
Go to CMS / Layouts and + Add a new file, let's name it blog-page.htm.
The simplest layout you can have is something like this:
<!DOCTYPE html>
<html>
    <head>
        {% styles %}
    </head>
    <body>
        {% page %}
		{% scripts %}
    </body>
</html>
3) Create a Page
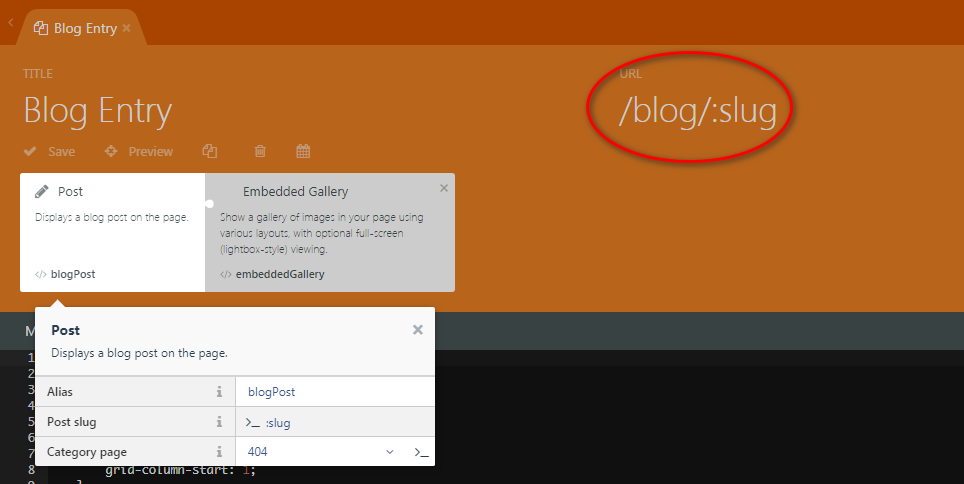
Your CMS "Page" will be the template that is used to generate the blog content for your visitors. Go to CMS / Pages and + Add a page. Set the File Name to blog/post.htm and select the layout you created in step #2 (or any other layout you already have). Set the URL to /blog/:slug - this will enable routing so that visitors can acces your blog posts at https://www.yourwebsite.com/blog/my-visit-to-japan or whatever.
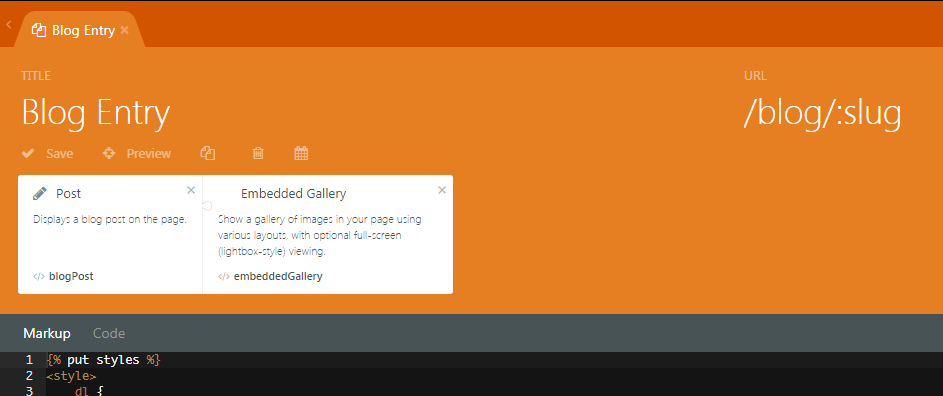
Set the Markup as follows (this is taken straight from the official OctoberCMS repo):
{% set post = __SELF__.post %}

<div class="content">{{ post.content_html|raw }}</div>

{% if post.featured_images.count %}
    <div class="featured-images text-center">
        {% for image in post.featured_images %}
            <p>
                <img
                    data-src="{{ image.filename }}"
                    src="{{ image.path }}"
                    alt="{{ image.description }}"
                    style="max-width: 100%" />
            </p>
        {% endfor %}
    </div>
{% endif %}

<p class="info">
    Posted
    {% if post.categories.count %} in
        {% for category in post.categories %}
            <a href="{{ category.url }}">{{ category.name }}</a>{% if not loop.last %}, {% endif %}
        {% endfor %}
    {% endif %}
    on {{ post.published_at|date('M d, Y') }}
</p>
Important: find the BLOG component group and click on the "Post" component. This will "link" your blog CMS page to your actual blog entries!
You should then see the blog component added to your CMS page:
4) Write a Post
Now write a post and make a note of the "slug".
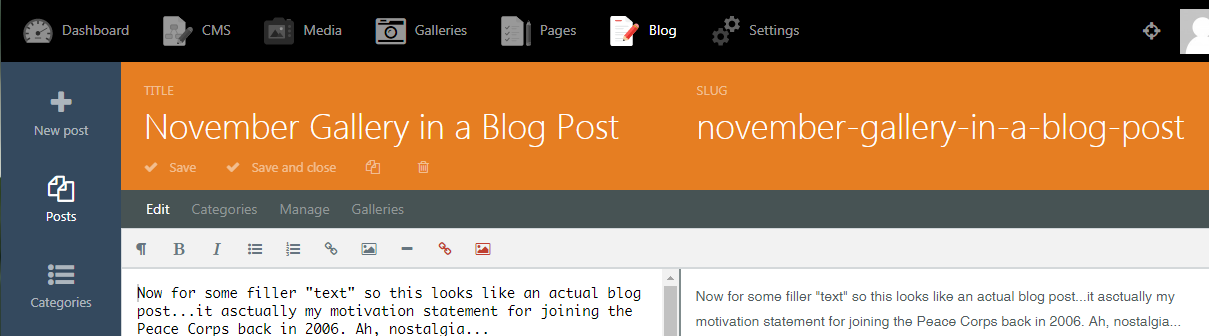
You can then view your blog post at the following URL (taking the above example): https://www.yourwebsite.com/blog/november-gallery-in-a-blog-post
Great!
Now, if you want, you can create another page and drop the "Post List" or the "Category List" components onto it to start creating a landing page with links to all of your blog posts.
Related post: OctoberCMS Quick Start Guide
