
In this post I aim to describe the steps that I take to de-bloat & optimize a Windows 11 installation. This is mostly to serve my own memory but I did want to share it with anyone else who might benefit, and as such, it will be more of an outline with screenshots instead of a step-by-step guide.
Updated on: 2023-08-10 - Szelence
Applicable for: Windows 11 Professional
Basics - you should know this if you're here :-)
- To open the "run dialog" to run a program, type
WIN+r - To run anything with administrative privileges, open the run dialog and hit
CTRL+SHIFT+ENTER - To run something in an elevated command prompt, combine the previous two steps:
WIN+r, type "cmd", and pressSHIFT+ENTER - To open Powershell, just run "Powershell"
- To open user management, run
lusrmgr.msc - Get to the classic Network Connections panel: run
ncpa.cpl - Find out your windows version: run
winver - Open the task scheduler: run
taskschd.msc - Open registry editor: run
regedit - To open Computer Management app, run:
compmgmt.msc - To open System Properties classic control panel applet:
sysdm.cpl
Some Tools
- Sysinternals: technical tools like diskmon, sysmon, autoruns etc.
- Microsoft Power Toys
Windows "Tweakers" that are mostly GUI-s for the registry:
- Winaero Tweaker: made in Russia but my favorite 👍 👍
- Chris Titus's "Windows 11 Perfect Install" post and utililty: also see his video on the topic 👍
- SophiApp: open-source tweaker with GUI 👍
- Ultimate Windows Tweaker 👍 but be careful, for example Action Center will no longer show if you click and apply the setting "Disable Windows Ink Workspace"
- O&O ShutUp10++ 👍
- ThisIsWin11 Debloater and tweaker, succeeded by the BloatyNosyApp, not a big fan
Paid tools for customizing the start menu etc.:
- StartAllBack 👍
- Stardock Start11
- ExplorerPatcher
Older tools:
- BlackBird to disable Windows telemetry, "spying" (Windows 10)
Steps
(-1) Install all updates
Before getting started get windows up to date with all patches etc. since newer patches might undo some of the changes that we will implement.
(0) Tweak Some System Settings
a) Enable System Protection
Control Panel → System → System Protection tab, make sure that system protection is on for any drives that aren't used exclusively for backup.
b) Disable remote assistance
Since you are more likely to win the lottery than to receive remote assistance from Microsoft, it's best to turn this off.
Control Panel → System → Remote dialog
c) Rename the computer
Control Panel → System
(1) Install Basic Utilities
which we will use further on:
- Notepad++
- 7Zip
- OpenShell
- Remote Access Software
- Office Suite
- Antivirus
- Browser (Chrome, Firefox, and/or Brave)
- Video and audio players (AIMP, MusicBee, VLC)
- FSCapture, FSViewer
- X-Mouse Button Control, AutoHotKey, PureText, Everything, DisplayFusion, SyncTrayzor, AutoRun Organizer, Listary, VistaSwitcher
- Corporate chat, task management, knowledgebase
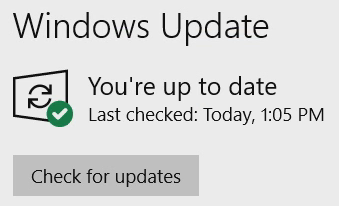
(1) Reign in Windows Update
Used to be in Settings → Updates & Security → Advanced Options, now there isn't much that can be configured in Windows 11 without editing the registry/a tweak app.
Optional: Use Sordum to Disable Further Automatic Updates
You could try to manually disable the windows update service, but a more surefire way is to use Sordum. Search for the most recent version of their Windows Update Blocker.
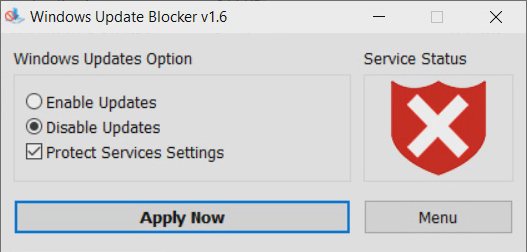
Of course, re-enable windows update every once in a while!
(2) Run Sophia to Optimize
Download current version from the link at the top. Used to be command-line only, now it has GUI, my changes were:
#DisableSigninInfo
#DisableLanguageListAccess
#DisableWindowsWelcomeExperience
#EnableWindowsTips
DisableWindowsTips
#HideTaskViewButton
#ShowSecondsInSystemClock
#ShowTrayIcons
#WindowsColorSchemeDark
#AppModeDark
#DisableNewAppInstalledNotification
#HideFirstSigninAnimation
#UninstallOneDrive
About Storage Sense:
Storage Sense is the Disk Cleanup replacement for the modern world. It frees up space on your computer by deleting things like recycle bin contents, temporary internet files, and app temporary files. This also includes the Downloads folder, but you can change that if you don’t want Storage Sense emptying it.
#EnableStorageSenseRecycleBin
DisableStorageSenseRecycleBin
#DisableHibernate
EnableHibernate
#SetTempPath
#EnableWin32LongPaths
#DisableDeliveryOptimization
DisableUpdatesMicrosoftProducts
#EnableUpdatesMicrosoftProducts
#DesktopPowerManagementScheme
#ChangeUserShellFolderLocation
#AutomaticRecommendedTroubleshooting
#DisableAutoplay
#EnableSmartActiveHours
DisableSmartActiveHours
#SetAppGraphicsPerformance
#DisableAppsSmartScreen
#HideSendToContext
#DisablePreviousVersionsPage
(3) Privacy
Settings → Privacy & go through each page (Speech, Inking, etc.) & turn off as required
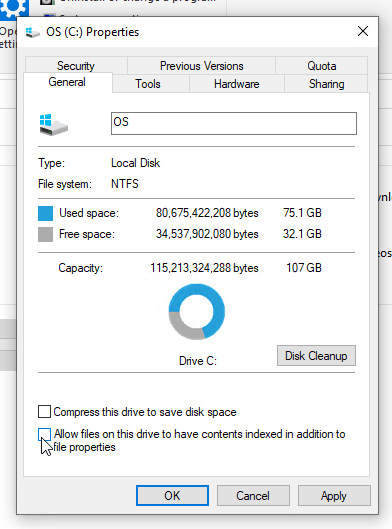
(4) Disable File Content Indexing
Windows Explorer → C: drive → Properties
Use Everything instead of Windows' own indexing feature!
(5) Enable F8 at Startup
This is no longer possible with windows 11 as it was with Windows 10 (see Rick Daily Tips or read this article). The simplest way to get into safe mode with Win11 is by holding down SHIFT while clicking on Restart from the start menu, or by running shutdown /r /o from an elevated command prompt, or from Settings → System → Advanced Startup.
You can also choose to always display a boot menu, set the timeout, or disable it using the GUI at: System Properties (sysdm.cpl) → Advanced → Startup and Recovery, or with the following commands:
bcdedit /set {bootmgr} displaybootmenu yes
bcdedit /set {bootmgr} timeout 5
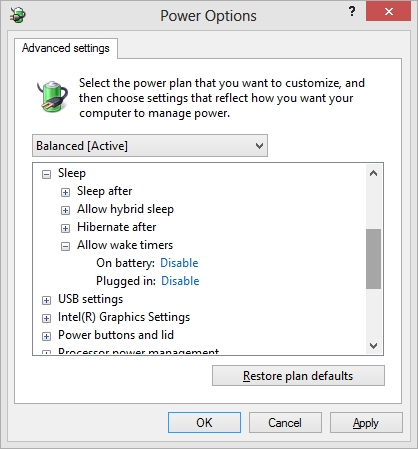
bcdedit /set {bootmgr} displaybootmenu no(6) Conclusively stop wake timers from waking Windows 10 desktop
You can check what last woke your computer from an elevated command prompt with: powercfg /LASTWAKE
Find a list of scheduled services that may wake your computer: powercfg /WAKETIMERS
Check your BIOS for any possible settings, such was disabling wake-on-lan.
→ then, follow this superuser thread as well as this article; I will also paraphrase in short:
(6.1) Disable Wake Timers for All Power Profiles
(6.2) Revoke "Wake" Privileges from Scheduled Tasks
- Download PSTools
- Open an elevated command prompt, and from your PSTools directory run
psexec.exe -i -s %windir%\system32\mmc.exe /s taskschd.msc(this opens up task scheduler with system permissions) - Go to Task Scheduler Library → Microsoft → Windows → UpdateOrchestrator
- Go through each task there and ensure that "Wake the computer to run this task" is not checked
- You can also disable each task that was set to wake the computer (for example:
Reboot,Reboot_AC, orBackup Scan,UpdateAssistantWakeupRun - Find each task in the following folder in file explorer:
C:\Windows\System32\Tasks\Microsoft\Windows\UpdateOrchestrator, make yourself the owner, and remove "Modify" and "Full Control" permissions from every user that has is, also disable inheritance - Find any more scheduled tasks that are set to wake the computer: in an elevated powershell, run
Get-ScheduledTask | where {$_.settings.waketorun} - Remove the "Wake Computer" permission from each task that was found
(6.3) Disable Hardware from Waking Up Your PC
In an elevated command prompt, run: powercfg -devicequery wake_armed
For each device found, go to device manager and adjust settings (usually in the Power Managemen tab).
(6.4) Group Policy
In group policy editor, disable: Computer Configuration → Administrative Templates → Windows Components → Windows Update → Enabling Windows Update Power Management to automatically wake up the system to install scheduled updates.
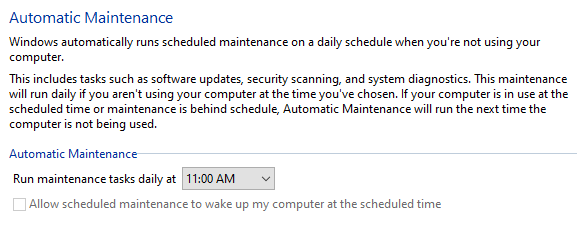
(6.5) Automatic Maintenance
Control Panel → Security and Maintenance → Maintenance → Change Maintenance Settings, and set to a normal time of day:
(6.6) Set Computer to Shut Down Fully
In regedit:
-
HKEY_LOCAL_MACHINE\SOFTWARE\Microsoft\Windows NT\CurrentVersion\WinLogon - Find or create:
PowerdownAfterShutdown(DWORD (32-bit)) - Set to 1 (Decimal)
Credits, sources & further reading (which isn't linked to in the text above):
- Setting up the perfect Windows 10 Installation | Faster, Lighter, and Functional
- Debloat Windows 10 in 2020
- 17 Reasons Why I Do Not Use Windows 10
- How do I stop Windows 10 from waking itself up from Sleep Mode?
- How to Fix the Computer Keeps Waking up from Sleep Problem?
(7) Enable Num Lock at Startup
This can be done with a program like WinAero Tweaker, or manually as follows.
First, head to HKEY_CURRENT_USER\Control Panel\Keyboard. Double-click the “InitialKeyboardIndicators” value in the right pane and set it to “2”.
Next, expand the “HKEY_USERS” folder. You’ll now need to repeat the above process several times, changing the InitialKeyboardIndicators value under each folder inside the HKEY_USERS folder.
Start by going toHKEY_USERS\.DEFAULT\Control Panel\Keyboard, and changing the InitialKeyboardIndicators value to 2 [note: the default value is 2147483648]. Next, repeat the process for the folder below the .DEFAULT folder–it’ll start with an “S-“.
Repeat this process for the remaining folders inside HKEY_USERS, changing the Control Panel\Keyboard\InitialKeyboardIndicators setting under each one.
Once you’re done, you should just be able to reboot and Windows 10 should automatically enable Num Lock at boot. However, it doesn’t actually work this way. The Fast Startup feature, also known as Hybrid Boot, overrides this setting and Windows will continue to boot with Num Lock off.
We’ve found two ways to prevent this from happening. You could disable fast startup, but we’ve found a better trick that should work for you without losing the advantages of hybrid boot.
After you run the .reg file, shut down your computer. Don’t reboot it–select the “Shut down” option.
Boot the computer back up again. When you reach the login screen, press the Num Lock key once to enable it. Don’t log into the computer. From the login screen, click the power button and select “Shut down” to shut down the computer again.
Boot the computer back up and Num Lock will be enabled on the login screen. It seems that this puts Fast Startup into a state where it will automatically enable Num Lock at every boot. Yes, this is a weird trick–but it works. (Thanks to DznyRulz on Reddit for discovering this!)
You could also prevent this from happening by disabling the Fast Startup feature after making the above tweaks to your registry. If the trick above doesn’t work for you, try disabling Fast Startup instead.
To do so, open the Control Panel, click “Hardware and Sound,” click “Power Options,” and click “Choose what the power buttons do.” Click the “Change settings that are currently unavailable link at the top of this screen, and then scroll down and uncheck the “Turn on fast startup (recommended)” option. Click “Save changes.”
From: https://www.howtogeek.com/244606/how-to-enable-num-lock-automatically-when-your-computer-boots/
(8) Various Other Optimizations
8.1 Disable Background Apps
Used to be at Settings → Privacy → Background apps, but with Windows 11 this has to be done manually for each app, which is a pain, so it's easiest to use Winaero Tweaker or SophiApp.
8.2 Disable “Get tips, tricks, and suggestions as you use Windows”
Settings → System → Notifications & Actions → Get tips, tricks...
8.3 Disable Runtime Broker Service
https://www.tenforums.com/network-sharing/7907-runtime-broker-process-6.html#post660867
What fixed my Runtime Broker problem was:
Start "Photos" app
Select "Settings" (bottom left corner)
In the Sources section remove any network URLs.
HKEY_LOCAL_MACHINE\SYSTEM\CurrentControlSet\Services\TimeBroker, change Start from 3 to 4
4 is Disabled, 3 is Manual and 2 is Automatic startup.
https://www.tenforums.com/performance-maintenance/12707-stop-runtime-broker-running-constantly-background-3.html
https://wethegeek.com/how-to-fix-runtime-broker-high-cpu-usage-in-windows-10/
The Drill for Me When Runtime Broker Decides to Hog My CPU
After a Windows 10 update-reboot:
kill Runtime Broker
In settings>privacy>background apps turn off Groove Music and, if you have a lot of pictures, turn off Photos too.
In Services, stop and then restart the Time Broker service (Run/Open services.msc). This re-launches up Runtime Broker task which now behaves per the settings you just fixed in #2 above.
https://www.tenforums.com/performance-maintenance/12707-stop-runtime-broker-running-constantly-background-2.html?s=f5b0d945e5e785538f3a3f9e3154b311
(9) Other Utilities
- I have not tested all of these, use carefully!
9.1 Windows 10 Debloater (free) - ❤️
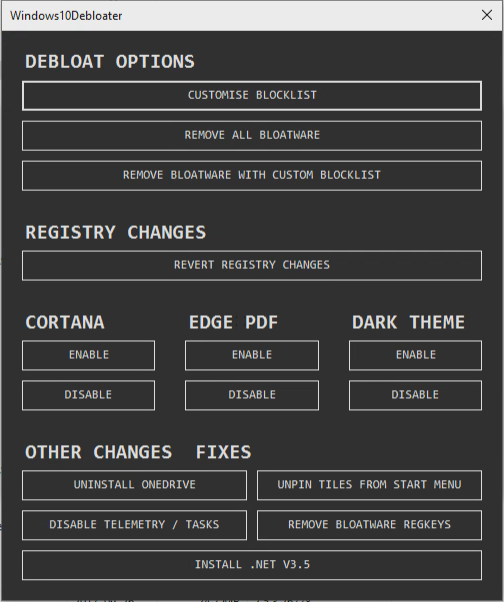
Excellent little open-source utility.
9.2 MacPaw CleanMyPC - 👍👍
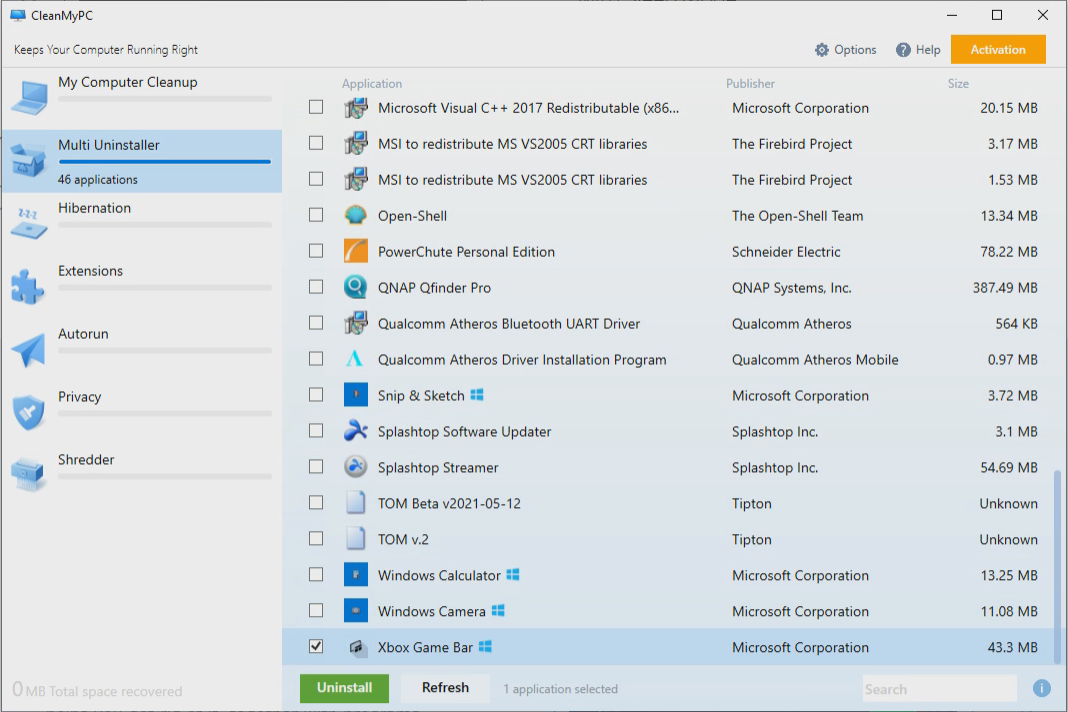
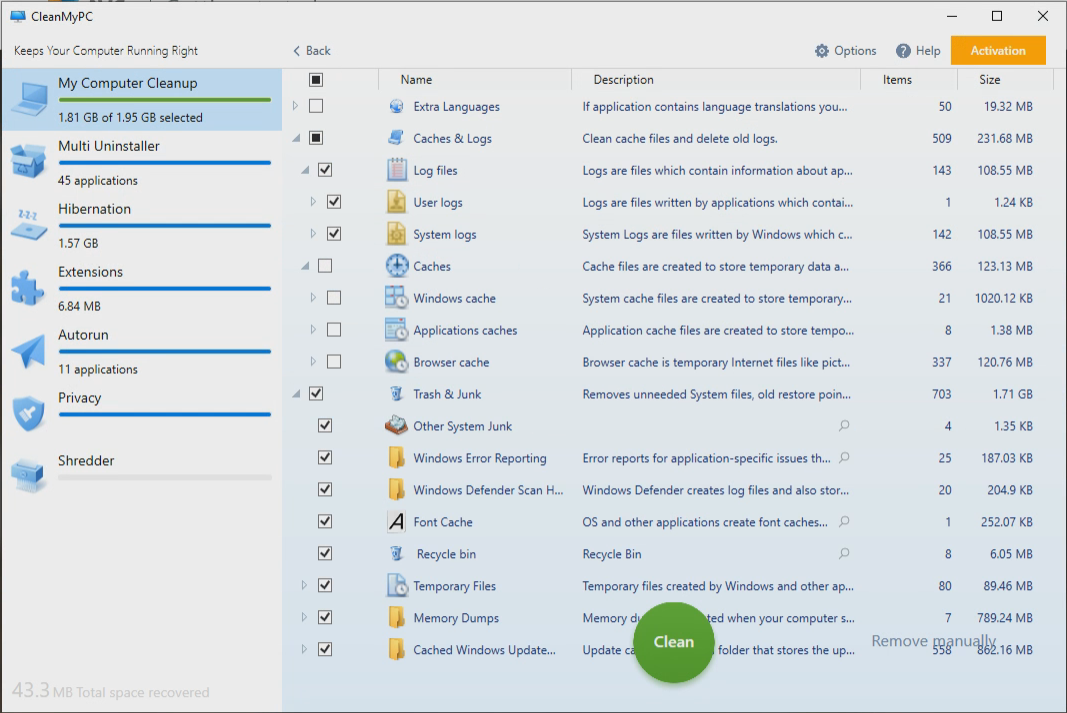
Pretty good but expensive, subscription-based utility!
9.3 AVG Tune-Up - 👍
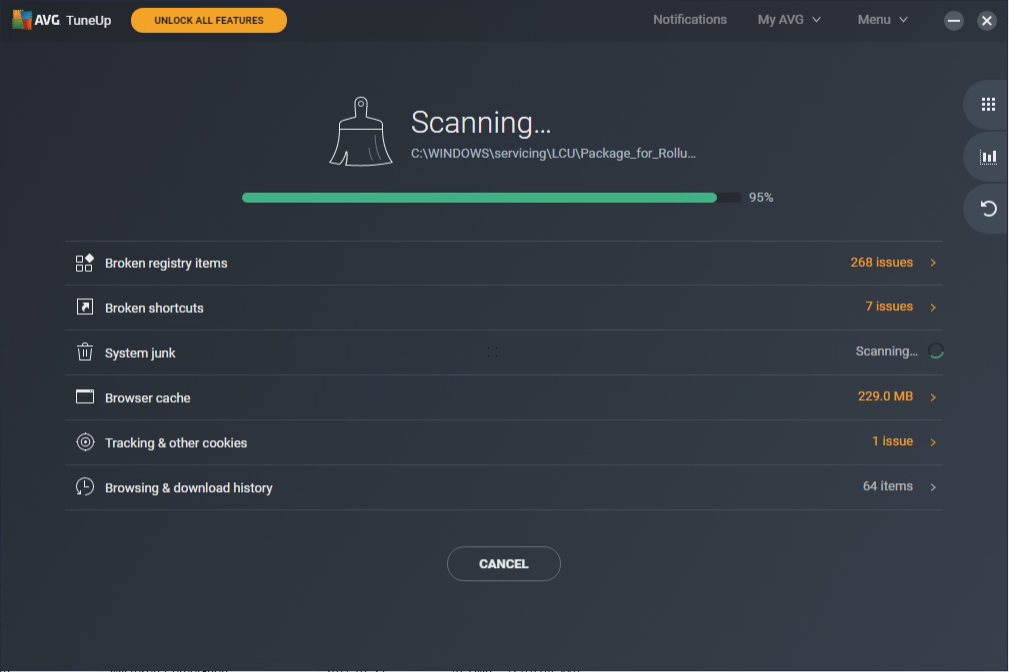

Has some useful features but also subscribtion-ware, and doesn't have any utility to uninstall built-in windows apps.
9.4 IOBit Uninstaller - 👍👎
 IObit IObit
It does make uninstalling built-in windows apps easy, but it's quite slow, and the installer includes a bunch of bundleware (VPN, PC-tuner, etc). Purchase page has a fake "people viewing today" and "purchases today" counter, and the price seems to be an annual subscription. Not impressed.
